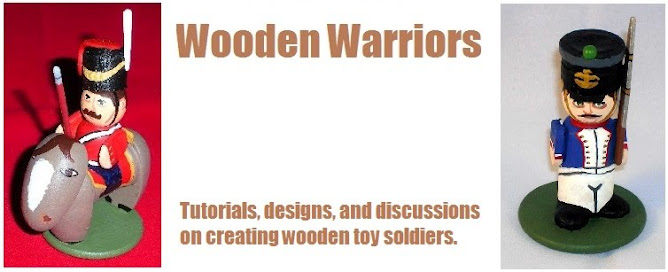
Most of this post references work on other people's blog, but there are also references to my old blog posts. Please be sure to click on the links and see the examples.I recently received a link about another blog – Funny Little Wars - Molatero – that features a wooden soldiers, and how Stephen Beat is making them.
In Stephen's first post, given that he talked about using doll pegs, I thought he was going for the same style as Kenneth Van Pelt, over at The Penny Whistle blog. The first figures Stephen shows are called "clothespins" here and are the main component that Kenneth used for not only figures, but for his really outstanding WWI aircraft. But as you read further in that first blog post you see that he cuts off the bottom and essentially makes a "pawn".
I once experimented with clothespins. The ones I was using were flat, so it made for a really nice painting surface for my Greek during the Trojan Wars. In the end, although it did provide some interesting shapes and ideas, it was still more sawing than I was doing with pawns, which I had invested rather heavily in when I five bags of 200! (Yes, I still have the majority of them, unused. 😕)
In Stephen's second blog post the figure really starts to take shape. The most amazing piece is the rifle, as it looks like it has been cut out from a popsicle stick or similar. Really nice work, but talk to me after you have made an army's worth of them! 😆 The cartoon-style face is exactly the style I like, and it really works well with these figures. The oversized eyes and moustache really 'pop', making the figure stand out. Stephen does not make feet for the figure, but rather paints them on. This definitely simplifies the build, lowers the cost of the figure, and helps the figure retain strength. (See Matt's recent posts about how he is guarding against troop breakage with his Dark Age warriors.)
The most recent blog post shows the figure in all its final splendor. The glossy varnish suits the style of the figure (I used Pledge's Future Floor Wax) as it not only protects the paint, but it brightens it too. The varnish Stephen used seems to have the same quality. The colors are deeper and richer than in the photo before spraying.
I look forward to seeing more of Stephen's work, especially how he does cavalry and artillery pieces. (Challenge sent, Stephen! 😃)


These are great! I love the “toy soldier” look to them. The varnish gloss finish is a real plus for these guys too. Something about the Napoleonic through the early 20th century period for uniforms really works for this style of figures as can be seen in looking at Dale’s Naps, Ken’s Zulu Wars figures, and now these. Lovely stuff all around!
ReplyDeleteHi there! Thanks so much for the mention and the kind words. Also, thanks for a lot of really useful pointers about how to proceed - and it was interesting to have a name for these shorter peg soldiers ('pawns'). I take your point about the rifles and I will be looking at ways I can simplify these extra parts. I've been in two minds about addition of arms and feet and will be making another test figure *with* arms and feet just to see what extra work this entails and whether it is worth the effort. As to cavalry and artillery, that certainly is a challenge! :) But that's a bit further down the line. But, again, thank you so much for the kind words.
ReplyDelete